Yo! I’m a supplier of 1 – ton mini excavators. Changing the bucket on a 1 – ton mini excavator might seem like a tough nut to crack, but it’s actually doable with the right know – how. In this blog, I’ll walk you through the whole process step by step.
Why You Might Need to Change the Bucket
First off, let’s talk about why you’d want to change the bucket in the first place. There are a few reasons. Maybe the current bucket is worn out. After lots of use, buckets can get pretty beat up, with teeth broken off or the metal starting to wear thin. This can make your excavator less efficient and even damage the machine over time.
Another reason could be the type of work you’re doing. Different jobs call for different buckets. For instance, if you’re dealing with fine materials like sand or gravel, a wider, shallower bucket might be better. On the other hand, if you’re breaking up concrete or digging in rocky soil, a more heavy – duty bucket with strong teeth would be the way to go.
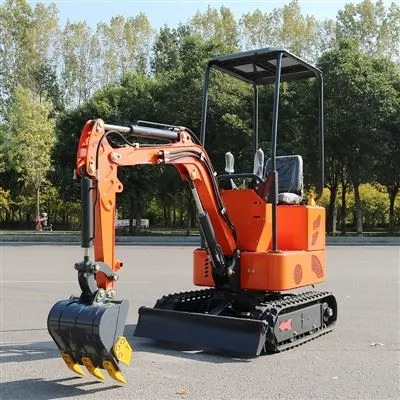
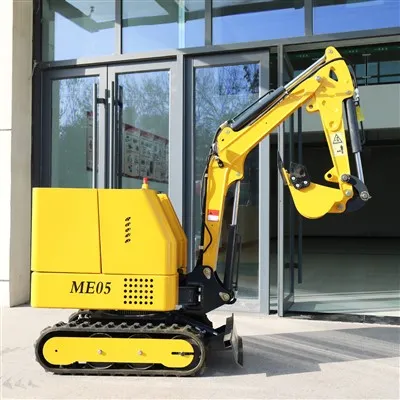
Our Small Digger Machine comes with a standard bucket, but we also offer a range of options to suit different tasks. So, it’s important to know how to switch them out.
Preparing for the Bucket Change
Before you start changing the bucket, safety should be your top priority. Make sure the mini – excavator is parked on a flat, stable surface. Turn off the engine and set the parking brake. This will prevent the machine from moving while you’re working on it.
Next, gather the tools you’ll need. You’ll typically need a wrench set, a pin extractor tool, and a hammer. It’s a good idea to have some grease on hand as well, which will help when you’re installing the new bucket.
Take a good look at the current bucket and the connection points. Notice how everything is attached so that you can put the new bucket on in the same way. If you’re not sure, you can always refer to the user manual that came with your Mini Excavator Diesel.
Removing the Old Bucket
Now, let’s get to taking off the old bucket. First, find the pins that connect the bucket to the excavator’s arm. These pins are usually located at the top and bottom of the connection point.
Use the pin extractor tool to start removing the pins. If the pins are stuck, you can gently tap them with a hammer. But be careful not to hit too hard, as you don’t want to damage the pins or the connection points.
Once the pins are out, you can carefully lower the bucket to the ground. Make sure it’s placed in a safe spot where it won’t cause any tripping hazards or get in the way of other equipment.
Installing the New Bucket
With the old bucket out of the way, it’s time to put on the new one. First, line up the holes in the new bucket with the holes in the excavator’s arm. This can be a bit tricky, so you might need a friend to help you hold the bucket in place.
Insert the pins back through the holes. Before you fully insert them, apply a bit of grease to the pins to make them slide in more easily and to prevent rust.
Use the pin extractor tool to push the pins all the way through until they’re secure. You can give them a gentle tap with the hammer to make sure they’re fully seated.
Testing the New Bucket
After you’ve installed the new bucket, it’s important to test it to make sure everything is working properly. Start the engine of the 1.2 Ton Mini Excavator (if you have a 1.2 – ton model) or your 1 – ton mini excavator.
Operate the bucket control lever to move the bucket up and down, and tilt it back and forth. Listen for any strange noises and check that the bucket moves smoothly. If you notice any issues, like the bucket jamming or making a rattling sound, stop the engine and double – check the installation.
Maintenance Tips
Once you’ve successfully changed the bucket, there are a few maintenance things you should keep in mind. Regularly check the pins for tightness. Over time, the vibrations from the excavator’s operation can cause the pins to loosen.
Also, clean the bucket after each use. This helps prevent dirt and debris from building up, which can cause premature wear on the bucket and the connection points.
If you’re not using the new bucket for a while, store it in a dry place. This will prevent rust from forming and keep the bucket in good condition for future use.
Conclusion
Changing the bucket on a 1 – ton mini excavator isn’t that hard if you know the steps. It’s an important skill for anyone who uses these machines, as it allows you to adapt to different types of work and keep your equipment in top shape.
If you’re in the market for a 1 – ton mini excavator or need replacement buckets, we’ve got you covered. Our machines are built to last and come with a range of options to suit your needs. If you’re interested in learning more or want to start a purchase negotiation, just reach out, and we’ll be happy to discuss it with you.
References
Manufacturer’s user manual for 1 – ton mini excavators
Industry best practices for mini – excavator maintenance and operation