As a trusted supplier of mini excavators, I understand the crucial role that the battery plays in the performance and efficiency of these powerful machines. In this blog post, I’ll share some practical tips on how to check the battery of a mini excavator to ensure its optimal functionality.
Why Battery Check is Essential
Before delving into the checking process, it’s important to understand why regularly checking the battery of a mini excavator is so vital. A well – maintained battery ensures that your mini excavator starts reliably, operates smoothly, and has sufficient power to perform various tasks. A failing battery can lead to unexpected breakdowns, which can cause significant delays in your projects and incur additional costs.
Visual Inspection
The first step in checking the battery of a mini excavator is a visual inspection. Start by examining the battery case for any signs of physical damage such as cracks, bulges, or leaks. A cracked case can allow electrolyte to leak out, which not only reduces the battery’s performance but can also be a safety hazard. Bulging of the battery case may indicate overcharging or internal damage.
Next, check the battery terminals. Corrosion on the terminals is a common issue that can impede the flow of electricity. If you notice a white, powdery substance on the terminals, it’s a sign of corrosion. You can clean the terminals using a mixture of baking soda and water. Simply mix a tablespoon of baking soda with a cup of water, and use a wire brush to gently scrub the terminals. Rinse with clean water and dry thoroughly.
Battery Voltage Check
Measuring the battery voltage is a key step in determining its state of charge. You’ll need a multimeter for this task. Set the multimeter to the DC voltage setting. For a fully charged 12 – volt battery, the voltage should read around 12.6 to 12.8 volts. If the voltage is significantly lower, say around 12 volts or less, it indicates that the battery is not fully charged.
Here’s how to measure the voltage:
Turn off the mini excavator and all electrical accessories.
Connect the positive (red) probe of the multimeter to the positive terminal of the battery and the negative (black) probe to the negative terminal.
Read the voltage on the multimeter display.
If the voltage is low, you can try charging the battery. However, if after charging, the voltage still does not reach the appropriate level, it may be a sign that the battery is failing and needs to be replaced.
Load Testing
A load test provides a more accurate assessment of the battery’s ability to deliver power under a real – world load. This test is especially important if the battery passes the voltage check but you still suspect that it may not be performing well.
To perform a load test, you’ll need a load tester. First, make sure the battery is fully charged. Connect the load tester to the battery terminals according to the manufacturer’s instructions. Apply a load to the battery for a specific period (usually around 15 seconds). During this time, monitor the voltage. If the voltage drops below a certain level (usually around 9.6 volts for a 12 – volt battery), it indicates that the battery may not be able to handle the load and may need to be replaced.
Specific Gravity Check (for Lead – Acid Batteries)
If your mini excavator uses a lead – acid battery, checking the specific gravity of the electrolyte can provide valuable information about the battery’s state of charge. You’ll need a hydrometer for this test.
Remove the caps from the battery cells.
Squeeze the rubber bulb of the hydrometer and insert the tube into the electrolyte of one of the cells.
Release the bulb to draw the electrolyte into the hydrometer.
Read the specific gravity on the hydrometer scale. For a fully charged battery, the specific gravity should be around 1.265 to 1.280. As the battery discharges, the specific gravity decreases.
Repeat this process for each cell in the battery. If there is a significant difference in the specific gravity between cells, it may indicate a problem with the battery, such as a faulty cell.
Importance of Regular Checks
Regularly checking the battery of your mini excavator can extend its lifespan and save you money in the long run. By catching potential problems early, you can avoid costly breakdowns and ensure that your mini excavator is always ready for work.
Our Mini Excavator Products
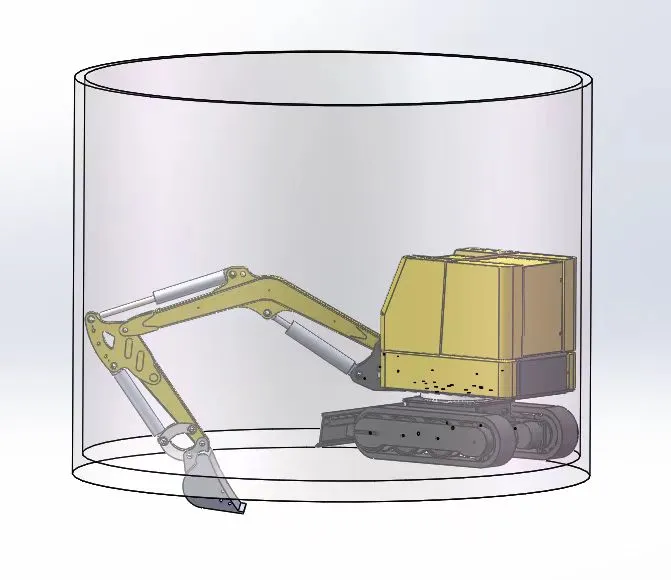
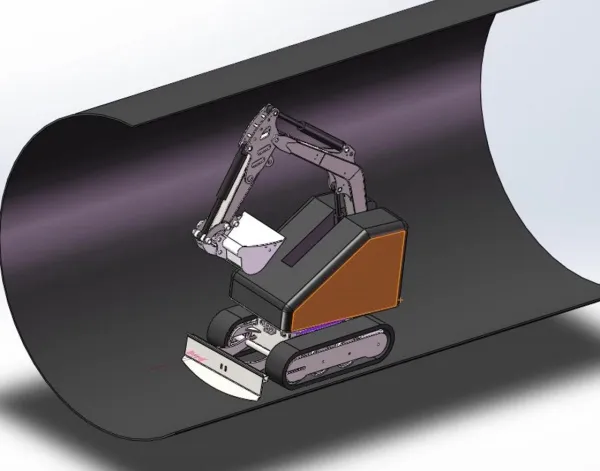
At our company, we offer a wide range of high – quality mini excavators, including the ME05 600kg RC Mini Elelctric Excavator Robot. This innovative machine is powered by a reliable battery system, and following the above – mentioned battery – checking steps will help you keep it in top condition.
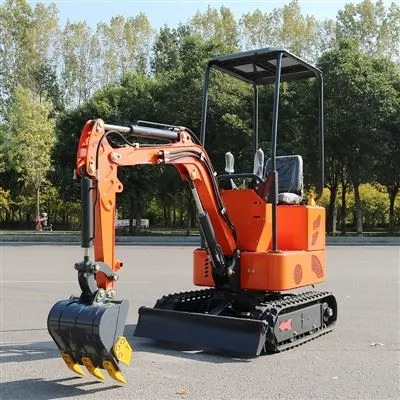
We also have the Battery Electric Forklift Truck, which is an excellent option for those looking for a battery – powered alternative in material handling. And our Mini Farm Garden Home Hydraulic Excavator With CE EPA is perfect for small – scale construction and landscaping projects.
Contact Us for Purchase
If you’re interested in purchasing a mini excavator or need more information about battery maintenance, we’d love to hear from you. Our team of experts is ready to assist you with all your inquiries. Whether you’re a professional contractor or a DIY enthusiast, our mini excavators are designed to meet your needs. Don’t hesitate to reach out and start a discussion about how our products can fit into your projects.
References
Battery Maintenance Handbook, XYZ Publishing
Mini Excavator Technical Manual, ABC Manufacturer