Hey there, fellow mini excavator enthusiasts! As a supplier of top – notch mini excavators, I’ve seen my fair share of electrical system issues in these nifty machines. Today, I’m gonna share some tips on how to troubleshoot the electrical system of a mini excavator.
First things first, let’s understand the importance of the electrical system in a mini excavator. The electrical system is like the nervous system of the machine. It controls everything from starting the engine to operating the lights, sensors, and hydraulic pumps. A malfunction in the electrical system can bring your excavation work to a grinding halt.
Visual Inspection
The easiest and often the first step in troubleshooting is a visual inspection. Start by checking the battery. Look for any signs of corrosion on the terminals. Corrosion can prevent the battery from delivering power effectively. If you see a white, powdery substance on the terminals, it’s a sign of corrosion. You can clean it off using a mixture of baking soda and water. Just make sure to disconnect the battery cables before you start cleaning.
Next, check all the wiring harnesses. Look for any frayed wires, loose connections, or signs of damage. Wires that are rubbing against sharp edges can wear out over time, leading to short circuits. If you find any damaged wires, you’ll need to repair or replace them. It’s also a good idea to check the connectors. Make sure they are securely plugged in and there’s no dirt or debris in them.
Battery Testing
The battery is the heart of the electrical system. If it’s not working properly, nothing else will. You can use a multimeter to test the battery voltage. A fully charged battery should read around 12.6 volts. If the voltage is significantly lower, the battery might be discharged or faulty.
If the battery voltage is low, try charging it. If it still doesn’t hold a charge, it’s probably time to replace the battery. Keep in mind that batteries have a limited lifespan, usually around 3 – 5 years.
Fuses and Relays
Fuses and relays are like the safety valves of the electrical system. They protect the components from damage caused by over – current. If a particular electrical component isn’t working, check the corresponding fuse. A blown fuse will have a broken wire inside it. You can easily replace a blown fuse with a new one of the same amperage rating.
Relays are used to control high – current circuits with a low – current signal. If a relay fails, the component it controls won’t work. You can test a relay using a multimeter or by swapping it with a known – good relay of the same type.
Starter Motor Issues
If your mini excavator won’t start, the starter motor could be the culprit. First, check if you hear a clicking sound when you turn the key. If you do, it could mean that the starter solenoid is working, but the starter motor itself is faulty. You can try tapping on the starter motor gently with a hammer. Sometimes, a stuck solenoid can be freed up this way.
If tapping doesn’t work, you’ll need to remove the starter motor and have it tested at a professional repair shop. Replacing a starter motor can be a bit tricky, so it’s best to have it done by someone with experience.
Alternator Testing
The alternator is responsible for charging the battery while the engine is running. If the battery keeps discharging, the alternator might be faulty. You can test the alternator using a multimeter. With the engine running, the voltage at the battery terminals should be around 13.8 – 14.4 volts. If it’s lower than this, the alternator might not be charging the battery properly.
Sensor Problems
Mini excavators are equipped with a variety of sensors that monitor things like engine temperature, oil pressure, and hydraulic fluid level. If a sensor malfunctions, it can cause the machine to behave erratically or display false warning lights.
To troubleshoot sensor problems, you’ll need to use a diagnostic tool. This tool can read the error codes stored in the machine’s computer system and tell you which sensor is malfunctioning. Once you’ve identified the faulty sensor, you can replace it.
Lighting and Electrical Accessories
Problems with the lights or other electrical accessories are also common. If a light isn’t working, start by checking the bulb. If the bulb is okay, then check the fuse and the wiring. Sometimes, a loose connection or a broken wire can cause a light to stop working.
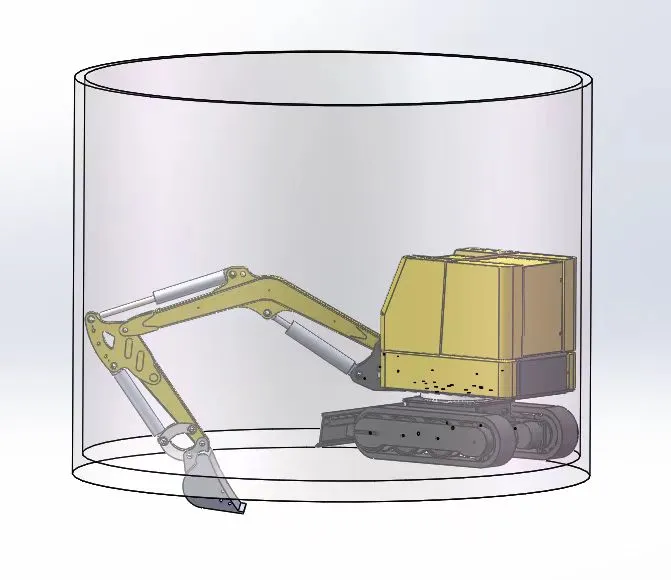
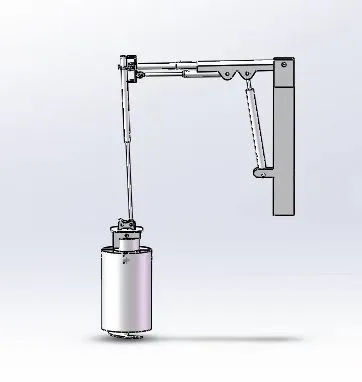
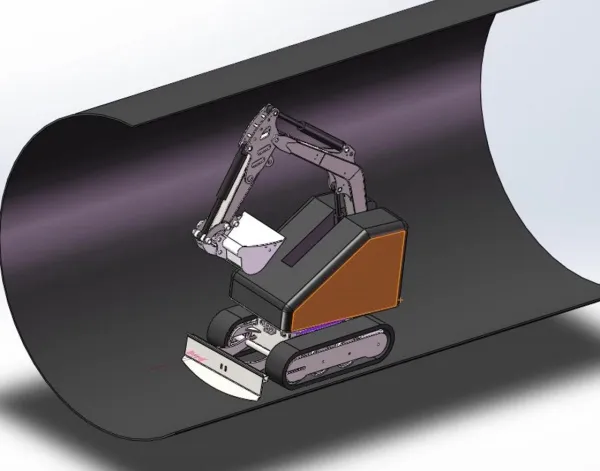
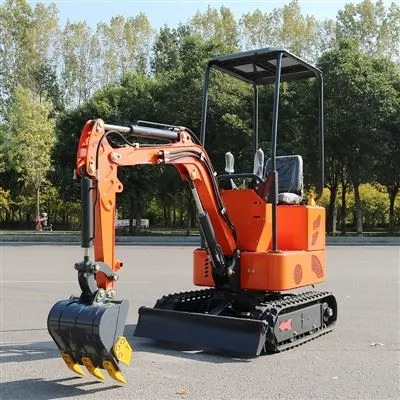
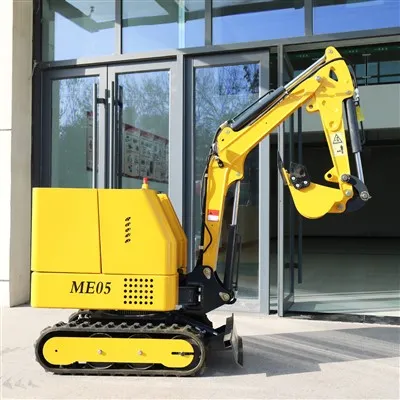
Now, let me tell you a bit about our amazing range of mini excavators. We have the New Mini1.2 Ton Pilot Excavator, which is a real powerhouse. It’s got a great electrical system that’s designed for reliability and performance. Then there’s the ME05 600kg RC Mini Elelctric Excavator Robot, perfect for those who need a smaller, more maneuverable machine. And if you’re looking for a mini excavator for your farm or garden, the ME10 Mini Farm Garden Home Hydraulic Excavator With CE EPA is an excellent choice.
If you’re in the market for a mini excavator or have any questions about troubleshooting the electrical system, don’t hesitate to reach out. We’re here to help you make the right choice and keep your machine running smoothly. Whether you’re a professional contractor or a DIY enthusiast, our mini excavators are built to meet your needs.
So, get in touch with us today and let’s start a conversation about how we can help you with your mini excavator requirements. We look forward to hearing from you!
References
“Mini Excavator Maintenance Manuals”
“Electrical Systems in Construction Equipment – A Practical Guide”
Industry experience and knowledge from years of supplying mini excavators.